
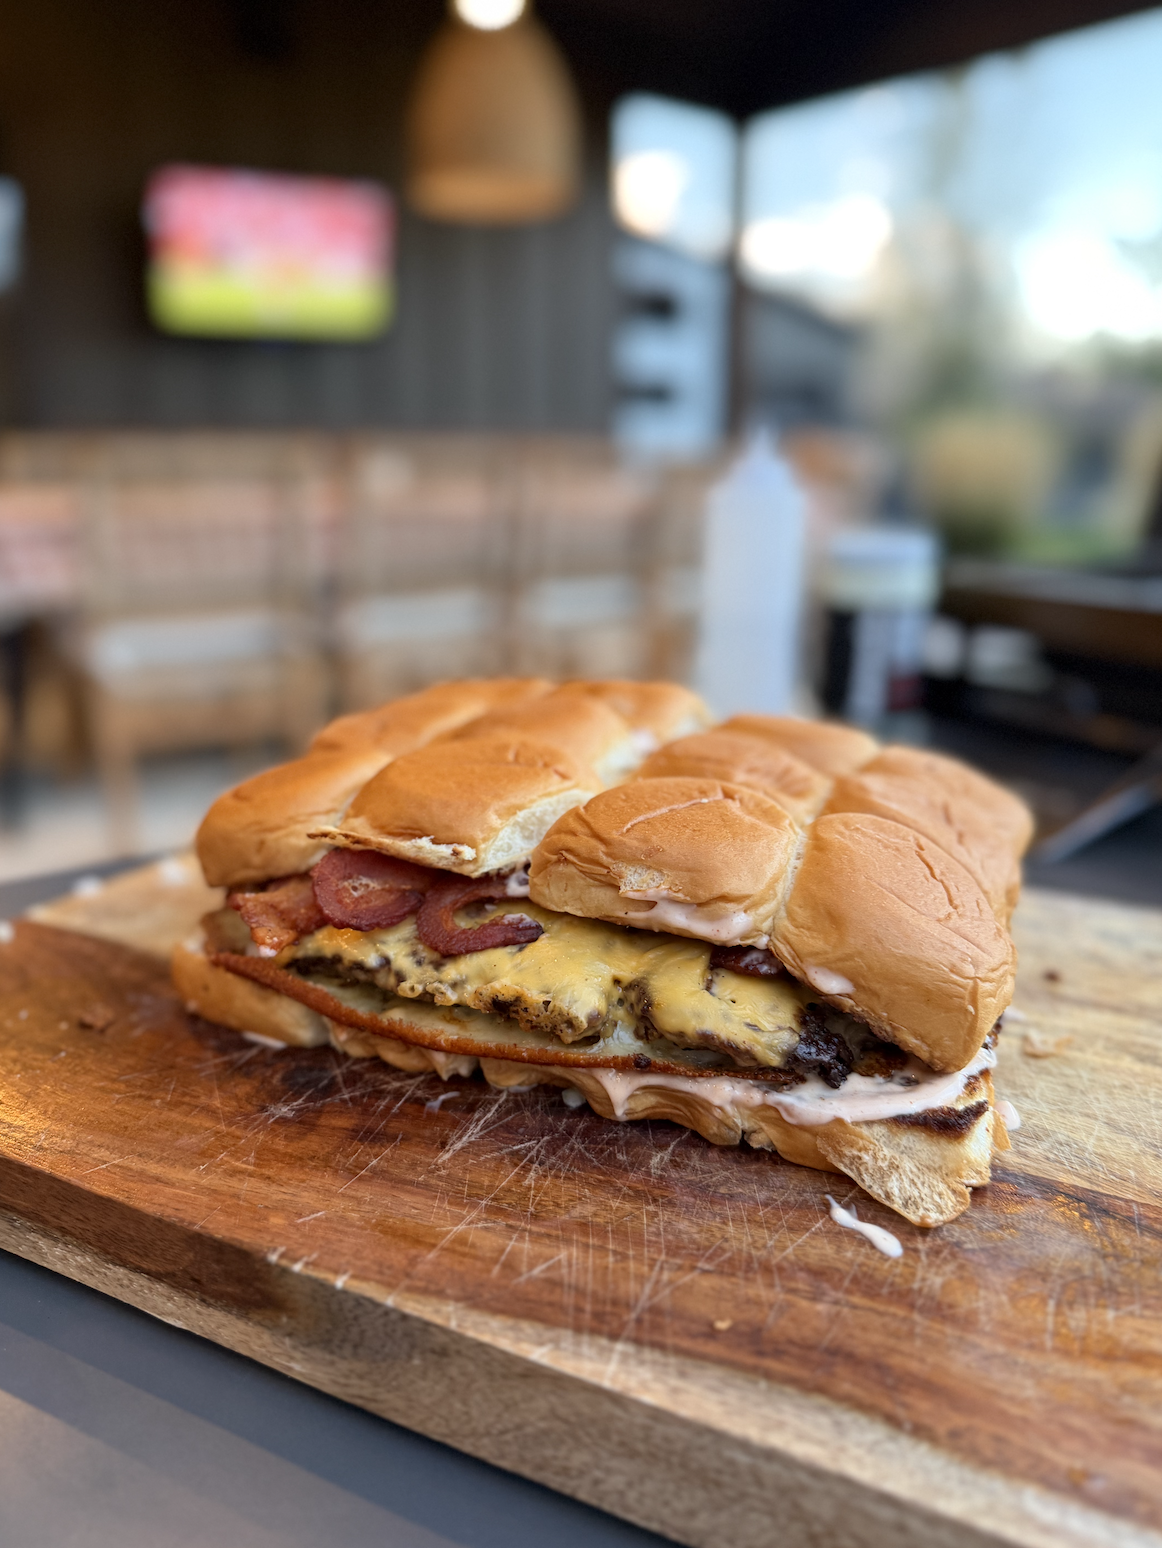
Cheesy, crispy, bacon-loaded smash burger sliders with homemade burger sauce on toasted Hawaiian rolls.
I’m just going to say it. These might be some of the best burgers we’ve made in a LONG time. We made these for Monday Night Football alongside some loaded grilled nachos, and holy cow. They were SO good. I’m talking crispy, caramelized smash burgers, layers of melty American cheese, thick-cut bacon, toasted Hawaiian rolls, and a homemade burger sauce that brings the whole thing together.
And the best part? Instead of making 12 individual burgers, we’re making two giant smash burger patties and assembling the entire tray of sliders at once. Less work, less mess, and perfect for feeding a crowd.
We cooked ours on our Tytus Grill, which has a flat top and traditional grill side by side. It’s quickly becoming one of our favorite ways to cook outside, especially when we’re feeding a bunch of people. Trust me, you’re going to want to save this one.
Bacon Cheeseburger Smash Sliders
Prep Time: 15 minutes
Cook Time: 20–25 minutes
Total Time: 35–40 minutes
Servings: 12 sliders
Cooking Method: Flat top griddle
Ingredients
For the sliders:
2 lbs ground beef (80/20 recommended)
1 package (12 count) Hawaiian sweet slider rolls
6 slices yellow American cheese
6 slices white American cheese
8–12 slices thick-cut bacon
1/2 small white onion, finely diced
Salt and black pepper, to taste
Butter or bacon grease for toasting, if needed
For the homemade burger sauce:
1/2 cup mayonnaise
2 tablespoons ketchup
1 teaspoon Worcestershire sauce
1/2 teaspoon paprika
1/4 teaspoon salt
1/4 teaspoon black pepper
Sauce measurements are approximate. Taste and adjust until it’s just how you like it!
Instructions
Step 1: Get That Bacon Crispy
Preheat your flat top griddle over medium heat. Start by laying your thick-cut bacon directly on the griddle. Cook until it’s nice and crispy, flipping as needed.
Once finished, move the bacon to the side or transfer it to a paper towel-lined plate. And don’t be too quick to clean off that bacon grease. It’s perfect for toasting your buns.
Step 2: Toast the Hawaiian Rolls
Take your entire package of 12 Hawaiian rolls and slice horizontally through the middle, keeping all 12 rolls connected.
Place both halves cut-side down on the flat top and toast until golden brown.
This is one of those little steps that makes a HUGE difference. The toasted buns hold up so much better to all that juicy burger goodness.
Step 3: Make Two Giant Smash Burgers
Divide your 2 pounds of ground beef into two equal 1-pound portions. Using parchment paper and your hands flatten each portion into a very thin rectangle. You want each patty to be slightly larger than the footprint of your entire 12-pack of rolls. Remember, the beef is going to shrink as it cooks, so go bigger than you think!
Season both sides with salt and pepper or your favorite burger seasoning… We actually used Freddy’s burger and fry seasoning which is our go to these days.
Step 4: Cook the Burgers
Place your giant burger patties onto the hot flat top. Let them cook undisturbed until the first side develops a beautiful, deep brown crust. Flip carefully using large spatulas.
Immediately add your cheese, dividing approximately six slices of yellow American cheese and six slices of white American cheese between the two patties.
Let everything melt together while the burgers finish cooking. Make sure the ground beef reaches an internal temperature of 160°F.
Step 5: Mix Up the Burger Sauce
In a small bowl, combine the mayonnaise, ketchup, Worcestershire sauce, paprika, salt, and pepper. Stir until smooth. Give it a taste and adjust however you like. A little more ketchup for sweetness? Go for it. More Worcestershire for that savory flavor? Absolutely. This isn’t complicated, but it makes the sliders SO good.
Step 6: Assemble Your Sliders
Now for the good part. Spread a generous layer of burger sauce over both the toasted bottom and top halves of your Hawaiian rolls. Place the bottom half of the rolls on a large cutting board or serving tray. Carefully layer both cheesy smash burger patties over the rolls, covering the entire surface. Add bacon on top. Sprinkle with finely diced white onion.
Place the top half of the rolls over everything and gently press together. Using a sharp knife, cut along the original roll lines to create 12 individual sliders. And you’re in business, baby.
A Few Tips for the Best Smash Burger Sliders
Use 80/20 ground beef. A little fat makes all the difference when you’re looking for that juicy burger with crispy, caramelized edges.
Don’t skip toasting the buns. Seriously. The little bit of crunch against the soft Hawaiian rolls is SO good.
Make your patties bigger than your buns. Ground beef shrinks while cooking, and you want those burgers to cover every inch of the rolls.
American cheese is your friend. This is not the time to get fancy. American cheese melts beautifully and gives you that classic cheeseburger flavor.
Dice the onions really small. You want just enough onion in every bite without overpowering the burgers.
What to Serve with Smash Burger Sliders
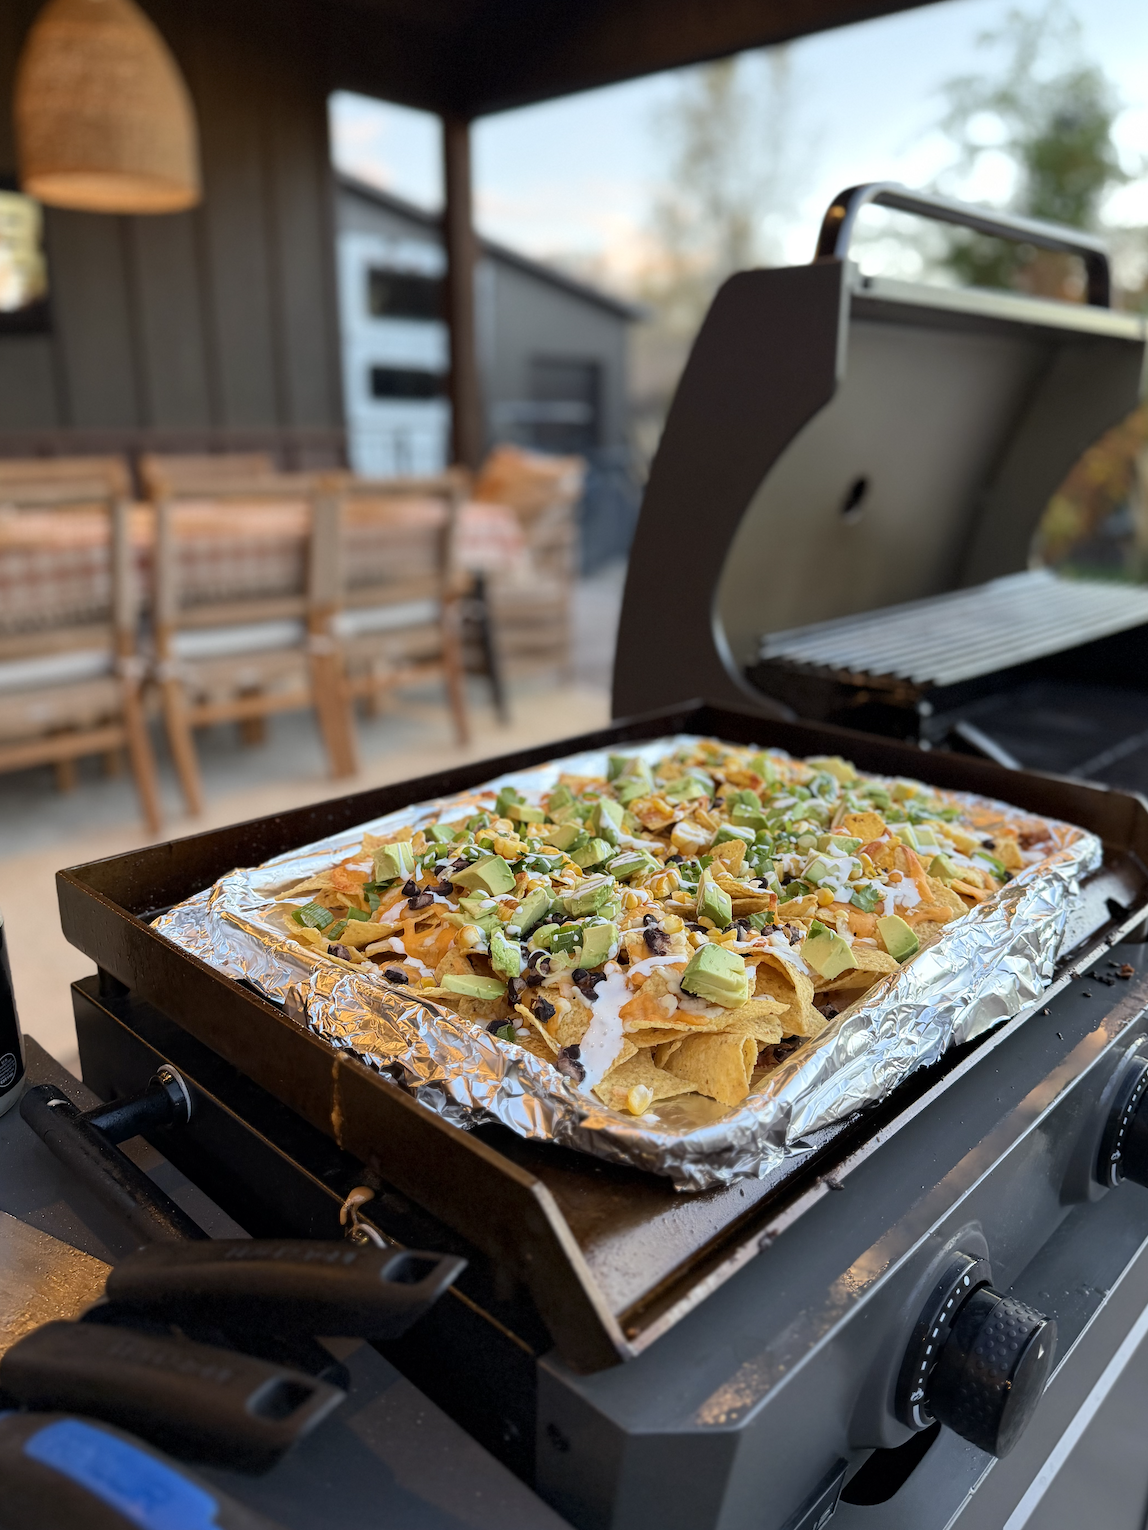
We paired these with loaded grilled nachos for Monday Night Football, and I’m telling you, it might be our new favorite game day combination.
These would also be perfect for backyard BBQs, birthday parties, tailgating, or anytime you’re feeding a crowd.
And if you’re hosting, the best part is that you can cook everything outside instead of spending the entire night in the kitchen.
I’m telling you, once you make cheeseburger sliders this way, you’re going to have a hard time going back to regular burgers for a crowd. They’re cheesy, crispy, a little messy, and absolutely worth it.
If you make them, let me know what you think! And fair warning: you might officially become the designated football party host.
Loaded Grilled Nachos
These grilled nachos are about as easy as it gets. We used tortilla chips, cheese, and black beans, then added all our favorite toppings once they came off the grill. The best part about nachos is that there really aren’t any rules. Use what you love and make them your own!
Ingredients
1 1/2 bags tortilla chips
6 slices Mexican cheese, shredded
1 can black beans, drained and rinsed
Avocado, cut into chunks
Green onion, sliced
White onion, diced
Mexican crema, for drizzling
Any additional nacho toppings you love
Instructions
Preheat your grill to medium heat. Spread the tortilla chips in a grill-safe pan or on a large sheet of heavy-duty aluminum foil. If you’re using foil, you may want to double it so the nachos are easier to move.
Sprinkle the black beans evenly over the chips, followed by the shredded Mexican cheese. Place the nachos on the grill and cook with the lid closed until the cheese is completely melted, about 5–10 minutes. Keep an eye on them so the chips don’t burn.
Carefully remove the nachos from the grill and top with chunks of avocado, sliced green onion, diced white onion, and a drizzle of Mexican crema. Serve immediately and add any other toppings you like. Salsa, jalapeños, cilantro, sour cream, tomatoes, or leftover grilled meat would all be delicious here. Because really, nachos are nachos. Make them however you like!
Save This Recipe for Your Next Game Day!
I’m telling you, once you make cheeseburger sliders this way, you’re going to have a hard time going back to regular burgers for a crowd. They’re cheesy, crispy, a little messy, and absolutely worth it. Add the grilled nachos on the side, and you’ve got the perfect game day spread. If you make them, let me know what you think!
And fair warning: you might officially become the designated football party host.